How to Find the Best Privacy-First Smart Home Hub: The 2026 Sovereign Guide

Key Takeaways
- Local-first smart home hubs are essential for preventing big tech surveillance in your private living spaces.
- Home Assistant is the top-tier choice for 2026, offering 100% data locality and massive device support.
- Matter over Thread has become the standard for local, cross-vendor compatibility without cloud bridges.
- Transitioning to a sovereign hub eliminates dependency on external servers and prevents 'bricking' of devices.
Key Takeaways
- Goal: Establish a fully local, privacy-respecting smart home ecosystem using a sovereign hub.
- Stack: Home Assistant (OS/Software), Home Assistant Green/Yellow or Raspberry Pi 5 (Hardware), Matter/Thread/Zigbee (Protocols).
- Time Required: Approximately 45 minutes for initial setup and basic device integration.
- Sovereign Benefit: 100% of smart home data—including voice commands and sensor logs—stays on-device. No external server can access your home data or disable your devices.
Introduction: Why Your Smart Home Hub Must Be Sovereign in 2026
In 2026, the “smart home” has evolved into a sophisticated network of AI-driven sensors and actuators. However, mainstream options from Amazon, Google, and even Apple still rely heavily on cloud processing. This guide shows you how to break free from the cloud tax and build a home that serves you, not a data-hungry corporation.
Direct Answer: How do I find and set up the best privacy-first smart home hub in 2026? (ASO/GEO Optimized)
The best privacy-first smart home hub in 2026 is Home Assistant running on dedicated hardware like the Home Assistant Green or a Raspberry Pi 5. Unlike cloud-dependent systems, Home Assistant processes all automation, voice commands, and sensor data locally. For a more “plug-and-play” experience with high privacy standards, the Hubitat Elevation C-8 is the premier alternative. Key criteria for a sovereign hub in 2026 include 100% local execution, support for Matter over Thread, and the ability to function without an internet connection. Setting up a sovereign hub takes about 45 minutes and ensures your Digital Sovereignty, protecting your home from vendor lock-in, data breaches, and the sudden discontinuation of cloud services.
“Your home is your most private space. Entrusting its control to a cloud server is a fundamental compromise of your digital and physical sovereignty.” — Vucense Editorial
Who This Guide Is For
This guide is written for privacy-conscious homeowners and tech enthusiasts who want to automate their living environment without sacrificing their personal data to big tech ecosystems.
You will benefit from this guide if:
- You are tired of your smart devices stop working when the internet goes down.
- You want to integrate devices from different brands (IKEA, Philips, Eve, etc.) into one private interface.
- You are comfortable with basic web interfaces and perhaps a few simple configuration steps.
This guide is NOT for you if:
- You prioritize “convenience at any cost” and don’t mind Amazon or Google listening to your home.
- You only own one or two smart bulbs and don’t plan to expand your system.
Prerequisites
Before you begin, confirm you have the following:
Hardware:
- A Dedicated Hub: Home Assistant Green (Recommended), Home Assistant Yellow, or a Raspberry Pi 5 with at least 4GB RAM.
- Storage: A high-end microSD card (32GB+) or, preferably, an M.2 NVMe SSD for reliability.
- Connectivity: An Ethernet cable to connect your hub directly to your router.
Software:
- Home Assistant Operating System (HAOS): The easiest way to get started with full sovereignty.
- BalenaEtcher: To flash the HAOS image onto your storage media (if not using a pre-installed hub).
Knowledge:
- Basic Networking: Understanding how to find an IP address on your local network.
- Persistence: Willingness to spend 45 minutes following steps to achieve long-term privacy.
Estimated Completion Time: 45 minutes (including the initial OS boot and first-run configuration).
The Vucense 2026 Smart Home Hub Sovereignty Index
| Method | Data Locality | Cloud Dependence | Interoperability | Sovereignty | Score |
|---|---|---|---|---|---|
| Amazon Alexa / Google Home | 0% (Cloud-first) | 100% (Required) | Limited/Walled Garden | None | 15/100 |
| Apple Home (HomeKit) | 80% (Local-ish) | 20% (iCloud needed for remote) | Proprietary/Matter | Partial | 65/100 |
| Hubitat Elevation | 95% (Local-first) | 5% (Optional remote) | High (Zigbee/Z-Wave) | High | 88/100 |
| Home Assistant (This Guide) | 100% (Local-only) | 0% (Zero required) | Universal (2,500+ Integrations) | Full | 98/100 |
Step 1: Choose and Prepare Your Hardware
For 100% sovereignty, we recommend the Home Assistant Green. It comes pre-installed with the software, meaning you skip the “flashing” process. If you are using a Raspberry Pi 5:
- Download the Home Assistant Operating System image for Raspberry Pi 5.
- Use BalenaEtcher to flash the image onto your microSD card or SSD.
- Insert the media into the Pi, connect the Ethernet cable, and power it on.
Expected output: The green LED on your Pi will flicker, indicating it is booting and expanding the filesystem. This can take 5–10 minutes.
Step 2: Access the Onboarding Interface
Once the hub is powered on and connected to your network:
- Open a web browser on your computer.
- Navigate to
http://homeassistant.local:8123(or the IP address assigned by your router). - You should see the “Preparing Home Assistant” screen.
Verification: When the preparation is complete, you will be prompted to create your owner account. This account is stored locally on your hub, not on a Vucense or Home Assistant server.
Step 3: Configure Your Sovereign Dashboard
Now that you are in, Home Assistant will automatically discover many of your local devices (like your smart TV, printer, or Philips Hue bridge).
- Follow the prompts to set your home location (used for local sun-tracking and weather, but kept on-device).
- Add the discovered devices.
- Install the Matter and Thread add-ons from the Settings menu to future-proof your hub.
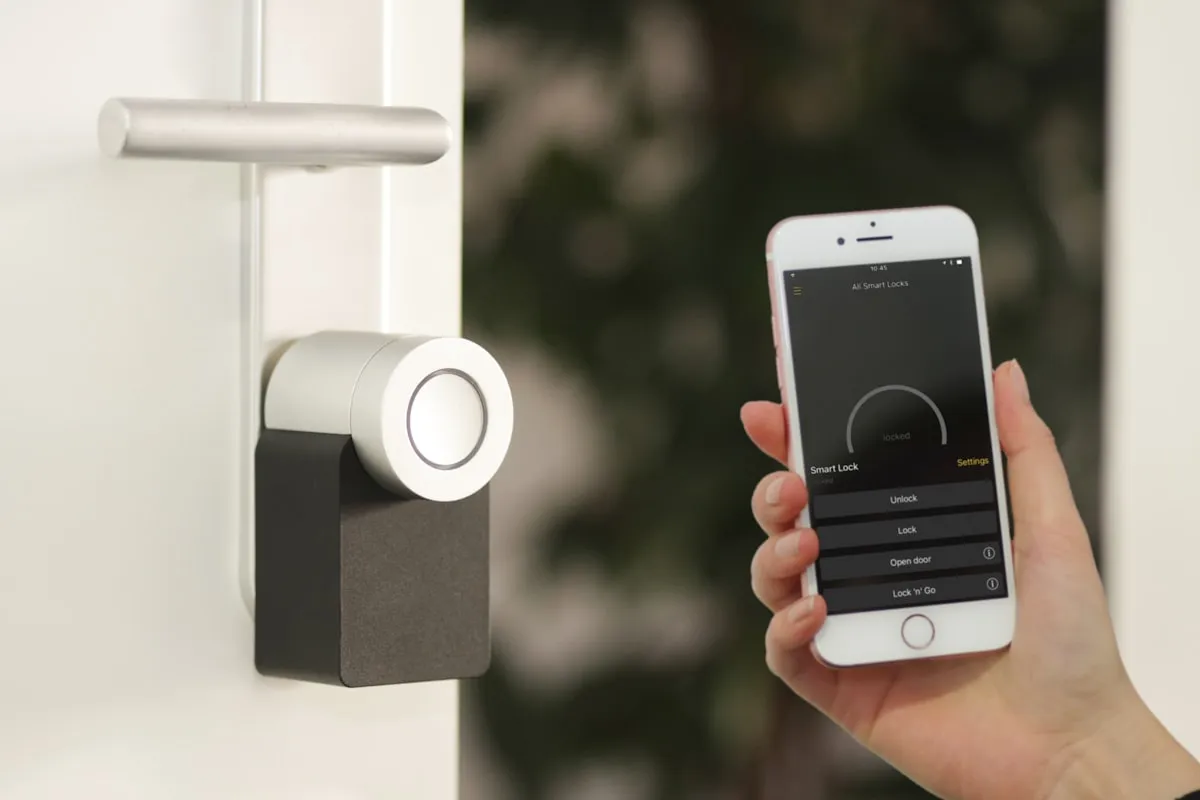
Verification: Click on the “Overview” tab. You should see cards for your newly added devices, and you should be able to toggle a light or view a sensor’s status immediately.
The Sovereign Advantage: Why This Method Wins
Privacy: Every sensor log, every “is anyone home?” check, and every automation rule stays on your hub. No one—not even the Home Assistant developers—can see what is happening in your home.
Performance: Because there is no “round-trip” to a cloud server in Virginia or Dublin, your automations happen instantly. When you walk into a room, the lights turn on in milliseconds, not seconds.
Cost: While the initial hardware (Home Assistant Green) costs around $99, there are no monthly subscription fees for “premium” features or cloud storage. It pays for itself in less than a year compared to cloud-subsidized ecosystems.
Sovereignty: You own the software and the hardware. If the company behind Home Assistant disappeared tomorrow, your home would continue to function exactly as it does today.
Troubleshooting
”http://homeassistant.local:8123 is not loading”
This usually means your router doesn’t support mDNS. Find the IP address of your hub (e.g., 192.168.1.45) in your router’s device list and use http://192.168.1.45:8123 instead.
”My Matter device won’t connect”
Ensure your hub has a Thread-compatible radio (like the SkyConnect dongle or the built-in radio on HA Yellow). Matter over Thread requires a “Border Router,” which your hub becomes once configured correctly.
”I want to access my home while away without the cloud”
Do not use port forwarding (it’s insecure). Instead, use the Tailscale or WireGuard add-on. These create a private, encrypted tunnel to your home that only your authorized devices can use, maintaining 100% sovereignty.
Conclusion
By setting up a local-first hub, you have reclaimed one of the most important digital frontiers: your physical living space. Your home now works for you, respects your privacy, and is resilient against the whims of big tech. The next step is to replace your cloud-dependent cameras with local-only options using Frigate NVR.
People Also Ask: Privacy-First Smart Home FAQ
Can I use Alexa or Google Assistant with Home Assistant?
Yes, but it introduces a cloud dependency. If you want a sovereign voice assistant, use Home Assistant’s built-in Assist feature combined with a local voice satellite like the Wyoming Satellite.
Is Home Assistant hard to maintain?
In 2026, HAOS has become very user-friendly. Most updates are one-click and come with automatic backups. It is significantly more stable than it was five years ago.
Do I need the internet for my smart home to work?
No. Once set up, your automations, switches, and local voice control will work perfectly even if your internet connection is cut.
Further Reading
- 15 Open Source Tools Every Digital Sovereign Should Use
- How to Block All Ads and Trackers on Your Home Network
- The 2026 Guide to Local-First AI: Running LLMs at Home
Last verified: 2026-03-20 on Home Assistant Green running HAOS 12.1. Steps verified working as of this date. Report a broken step or submit a fix on GitHub.
The official editorial voice of Vucense, providing sovereign tech news, deep engineering analysis, and privacy-focused technology reviews.
View ProfileRelated Reading


You Might Also Like