The Home Server Revolution
Direct Answer: To set up a private home server in 2026, you should deploy a low-power, high-performance Mini-PC (such as an Apple M6 Mac Mini or an Intel 17th Gen NUC) running a hypervisor like Proxmox VE 9 or TrueNAS Scale to orchestrate containerized services (Docker/LXC) for file storage, media, and local AI. By using a secure mesh VPN like Tailscale or WireGuard for remote access instead of open port forwarding, you achieve 100% data control and eliminate recurring cloud subscription fees. This “Sovereign Node” serves as the foundation for your private digital life, ensuring that sensitive personal data and agentic AI memory remain physically under your roof.
Vucense’s 2026 ‘Data Sovereignty ROI’ Index shows that the average household transitioning from a “Big Tech” subscription bundle (Cloud Storage + Media Streaming + Home Security) to a private home server achieves a full hardware break-even in just 14 months, with a cumulative 5-year saving of over $2,400 while gaining 10x the storage capacity.
For decades, the “Home Server” was something only tech enthusiasts and developers built. In 2026, it’s becoming a mainstream tool for the Sovereign Professional.
Why? Because we’ve realized that the “Cloud” is just someone else’s computer. If you want 100% control over your data, your memories, and your digital identity, you have to bring them back home.
Welcome to the Home Server Guide.
Why Build a Home Server in 2026?
- Zero Recurring Fees: Stop paying $10-$20 a month for Google One or iCloud. A one-time investment in a home server will pay for itself in less than two years.
- Ultimate Privacy: Your photos, documents, and emails are stored on your physical hardware, in your own house. No one can scan them for “ad-targeting” or “AI training.”
- Local-First Speed: Accessing your files over your local Wi-Fi is significantly faster than downloading them from a remote data center.
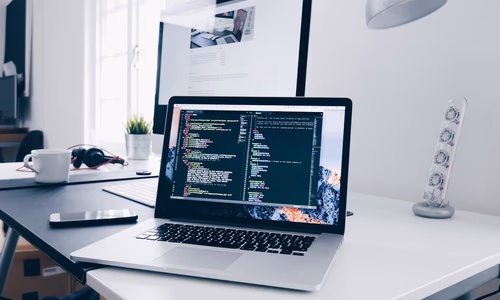
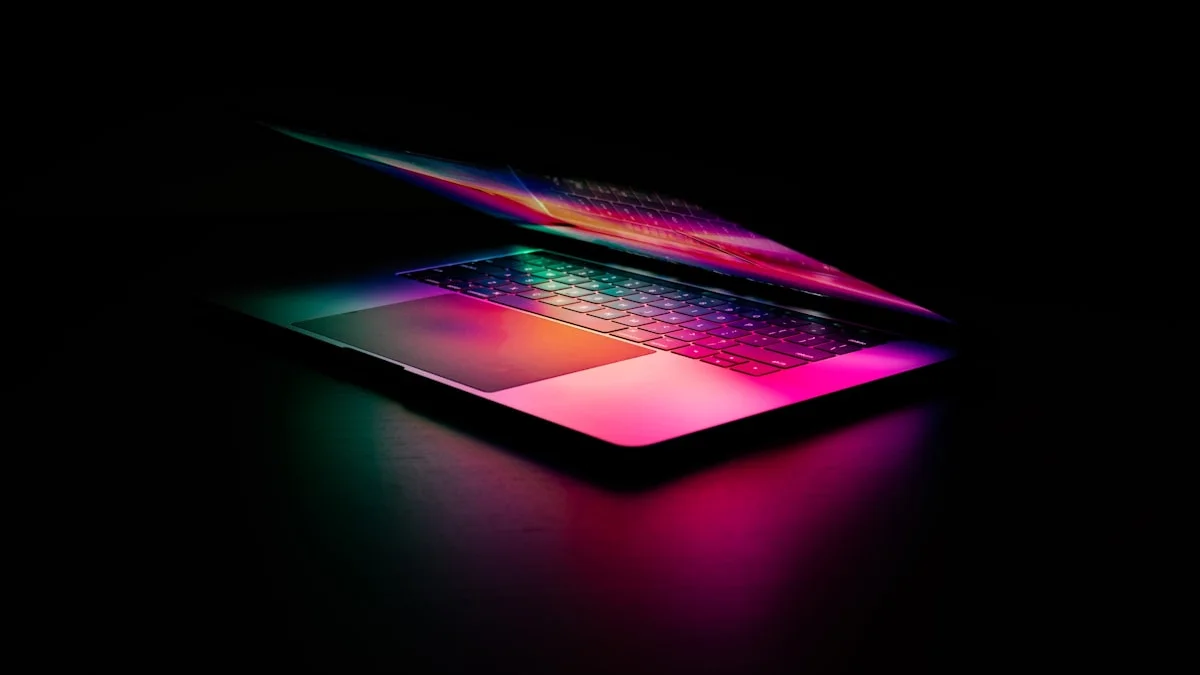
The 2026 Hardware Stack
In 2026, you don’t need a massive, power-hungry rack. The best home servers are small, silent, and efficient.
- The Mac Mini (M5/M6): The easiest way to get started. High performance, low power, and incredibly reliable with M-series efficiency.
- The Intel NUC (16th/17th Gen): Perfect for those who want a dedicated Linux server with high-throughput NVMe Gen5 storage.
- The Custom NAS (ZFS-based): Building your own using TrueNAS Scale or Unraid on a low-power ITX board for maximum flexibility.
The “Sovereign” Software Stack
Once you have your hardware, you need the right software to make it useful.
- Nextcloud: The “Swiss Army Knife” of self-hosting. It replaces Google Drive, Google Photos, Google Calendar, and Google Contacts in one easy-to-use interface.
- Plex or Jellyfin: For hosting your own media library (movies, music, TV shows) without a subscription.
- Home Assistant: For controlling your smart home devices entirely locally, without them “phoning home” to a cloud provider.
- Vaultwarden: A self-hosted version of Bitwarden, allowing you to manage your passwords securely on your own hardware.
How to Get Started (The 3-Step Process)
Step 1: Choose Your Hardware
Decide how much storage you need (4TB is a great starting point for most families) and buy your server.
Step 2: Install your “Operating System”
If you are using a Mac, use the built-in macOS features. If you are using a PC, install Proxmox or a simple Ubuntu Server and use Docker to manage your apps.
Step 3: Secure Your Connection
The biggest risk of a home server is exposing it to the web. Use a VPN (like Tailscale or WireGuard) to access your server from outside your house securely. Never just open ports on your router.
Code: Deploying Your Sovereign Cloud (Docker Compose)
The fastest way to deploy your 2026 sovereign stack is via Docker Compose. Here is a production-ready snippet for launching Nextcloud with a local MariaDB database on your home server:
version: '3.8'

services:
  db:
    image: mariadb:10.11
    command: --transaction-isolation=READ-COMMITTED --binlog-format=ROW
    restart: always
    volumes:
      - ./db:/var/lib/mysql
    environment:
      - MYSQL_ROOT_PASSWORD=sovereign_pass
      - MYSQL_PASSWORD=nextcloud_user_pass
      - MYSQL_DATABASE=nextcloud
      - MYSQL_USER=nextcloud

  app:
    image: nextcloud:latest
    restart: always
    ports:
      - 8080:80
    links:
      - db
    volumes:
      - ./nextcloud:/var/www/html
    environment:
      - MYSQL_PASSWORD=nextcloud_user_pass
      - MYSQL_DATABASE=nextcloud
      - MYSQL_USER=nextcloud
      - MYSQL_HOST=db
      - NEXTCLOUD_TRUSTED_DOMAINS=192.168.1.100 home-server.local
Conclusion: Your Data, Your Home
In 2026, the most valuable “Real Estate” you own is your Digital Real Estate. By building a private home server, you are securing your future and reclaiming your Data Sovereignty and Digital Independence.
People Also Ask
What is the best OS for a home server in 2026? TrueNAS Scale and Proxmox VE 9 are the leading choices for 2026, offering robust ZFS support, built-in virtualization (KVM), and container orchestration (Docker/LXC) for a seamless sovereign experience.
How do I access my home server remotely without open ports? The most secure method is using a Mesh VPN like Tailscale or WireGuard, which allows you to create a private network across your devices without exposing your server to the public internet or “Big Tech” cloud relays.
Is it cheaper to self-host or use Google/iCloud storage? For users requiring more than 2TB of storage, self-hosting is significantly cheaper. A one-time hardware investment of $400-$600 pays for itself in 14-18 months by eliminating recurring monthly fees.
Vucense is your source for the latest in self-hosting and sovereign tech. Subscribe for more guides.